How to Do Virtual Staging: A Step-by-Step Guide for Real Estate Agents (2026)
How to do virtual staging: a complete guide for real estate agents. Covers photo prep, choosing the right tool, applying staging, MLS disclosure rules, and cost comparison.
· Sophie
How Tos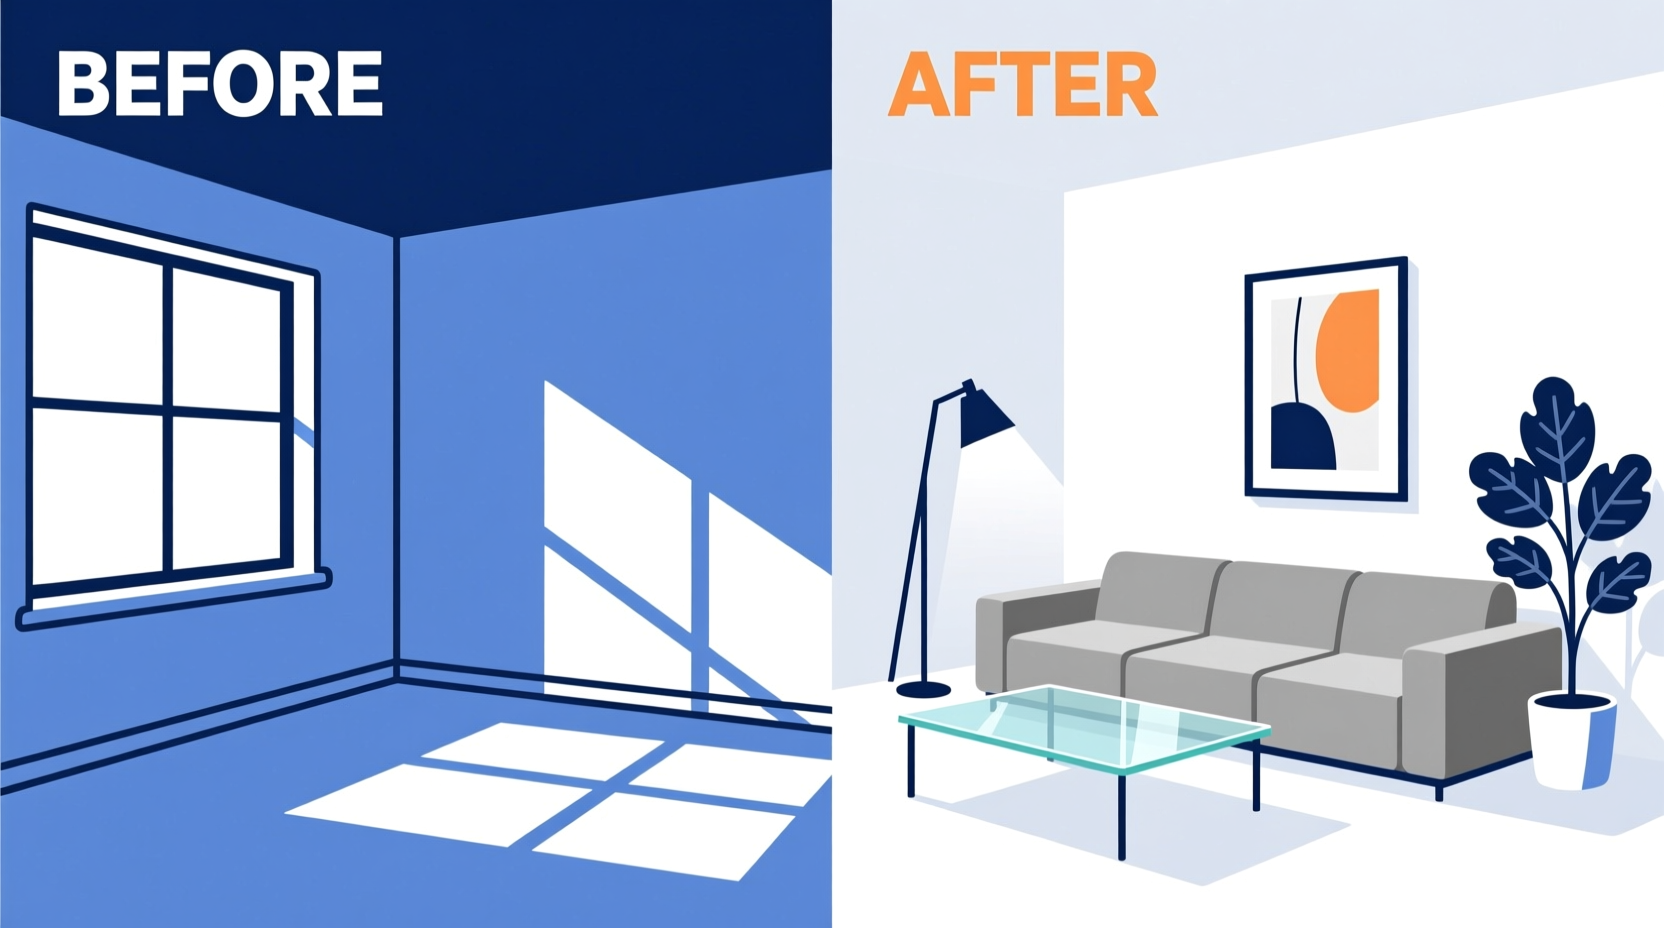
Virtual staging is now one of the most cost-effective tools available for listing presentation. Empty rooms are hard for buyers to visualize, and the difference between an unstaged and virtually staged listing photo is immediately visible in engagement metrics: more saves, more views, more showing requests.
This guide covers how to do virtual staging from start to finish: preparing your photos, choosing the right tool, applying the staging, handling MLS disclosure, and understanding where the results work best.
What virtual staging actually does
Virtual staging digitally adds furniture, decor, and finishing touches to a photograph of an empty or bare room. The process does not change the physical room — it creates a photo-realistic edited image that shows buyers how the space could look when furnished.
There are two approaches:
AI virtual staging (BetterSpace, Homestyler): Machine learning models automatically detect room geometry, suggest furniture placement, and render the scene. Results are delivered in minutes. Best for standard residential rooms.
Manual virtual staging (BoxBrownie, Stuccco, Virtual Staging Solutions): Human 3D artists model the space and individually place furniture. Takes 24 hours to 5 days. Better for complex architectural spaces, unusual layouts, and luxury listings where precise style direction matters.
Step 1: Prepare your listing photos for virtual staging
The quality of your staged output depends heavily on the quality of your input photos.
What works well:
- Wide-angle interior shots that show full room volume (24–35mm equivalent focal length)
- Straight verticals — no leaning walls from lens distortion
- Even, natural lighting — windows visible but not blown out
- Rooms clear of furniture and personal items
- Shot from a natural eye-level height (about 5 feet)
What causes problems:
- Dark photos with mixed lighting sources (tungsten indoors, daylight from windows creates color cast issues)
- Fisheye distortion that curves the floor and walls
- Rooms with large items that need to be digitally removed first
- Very low resolution (under 2MP) photos
If the room has existing furniture you want removed, some tools offer a “virtual declutter” step before staging.

Step 2: Choose your virtual staging tool
| Tool | Type | Price | Turnaround | Best for |
|---|---|---|---|---|
| BetterSpace | AI | under $1/image (subscription) | Minutes | Agents who also need listing video |
| BoxBrownie | Manual outsourced | $24–$65/image | 24–48 hrs | Highest quality per image |
| Stuccco | AI + manual | $29/image | 24 hrs | Affordable standalone staging |
| Virtual Staging Solutions | Manual | $49–$149/image | 3–5 days | Luxury bespoke renders |
| Typical AI tool | AI | ~$5/image | Minutes | Per-image standalone staging |
For most agents: BetterSpace is the most practical choice because it includes both virtual staging and listing video. Agents who list 5+ properties per month will save significant per-image costs compared to outsourced services.
For luxury listings: BoxBrownie or Virtual Staging Solutions deliver the highest quality when precise style direction is essential for the marketing strategy.
Step 3: Apply virtual staging
Using BetterSpace as the example:
-
Upload your listing photos. Drag in the photos you want to stage. BetterSpace accepts JPG, PNG, and HEIC.
-
Select the rooms to stage. Choose which photos need furniture added. Bedrooms, living rooms, dining rooms, and home offices are the most impactful. Kitchens and bathrooms rarely need staging unless they are bare.
-
Choose a design style. Select a furniture style that matches the property’s architecture and target buyer profile:
- Modern/contemporary: Clean lines, neutral palette
- Coastal: Light woods, whites, and blues
- Hamptons: Classic, elegant, white and navy
- Transitional: Mix of traditional and modern
- Scandinavian: Minimal, warm woods
-
Review the AI result. The staged image appears in minutes. Check for:
- Furniture that fits the room’s scale
- Realistic lighting and shadows
- No visible AI artifacts (warped geometry, floating objects)
-
Request revisions if needed. If the furniture placement or style is off, adjust the style setting or request a regeneration.
-
Download the staged images. Finished images are delivered as high-resolution JPGs ready for MLS upload.
Step 4: Handle MLS disclosure correctly
Virtual staging is legal in all US states and most international markets. However, real estate associations and MLS systems almost universally require clear disclosure on virtually staged photos.
Standard disclosure practice:
- Add a “Virtually Staged” caption to each staged photo in your MLS upload
- Include a note in the listing description: “Some photos have been virtually staged to illustrate furniture potential.”
- Do not use a virtually staged image as your primary MLS thumbnail without disclosure
- Check your specific MLS rules — requirements vary by market
Failure to disclose can violate NAR Code of Ethics rules and some state licensing regulations. Beyond the legal risk, buyers who arrive at a showing expecting a furnished property and find empty rooms will lose trust in you. Always disclose.
Which rooms benefit most from virtual staging?
High impact:
- Living rooms: The most viewed room in any listing. Empty living rooms are the single strongest argument for virtual staging.
- Primary bedrooms: Buyers emotionally connect with a well-staged primary bedroom. Empty bedrooms with no furniture for scale make rooms look both smaller and less appealing.
- Home offices: A room with no obvious purpose benefits most from showing a specific use case.
Moderate impact:
- Dining rooms: Staging adds warmth but buyers visualize dining spaces more easily than living rooms.
- Secondary bedrooms: Worth staging for properties with multiple bedrooms of different sizes.
Low impact:
- Kitchens and bathrooms: These sell on finishes, not furniture. Virtual staging rarely adds significant value.
- Outdoor spaces: AI staging tools work on outdoor furniture but results are less reliable than interiors.
Cost comparison: DIY virtual staging vs outsourced vs physical staging
| Method | Cost per image | Turnaround | Quality |
|---|---|---|---|
| BetterSpace subscription | ~$0 per image (plan includes it) | Minutes | Good–excellent |
| DIY AI (Homestyler) | Free–$15 | Minutes | Basic–good |
| Outsourced AI (Stuccco) | $29 | 24 hrs | Good–very good |
| Outsourced manual (BoxBrownie) | $24–$65 | 24–48 hrs | Very good–excellent |
| Luxury manual (VSS) | $49–$149 | 3–5 days | Excellent |
| Physical staging (3-bedroom home) | $2,500–$6,000 total | 1–2 weeks | Excellent |
For most residential listings, AI virtual staging delivers professional-grade results at a cost that is an order of magnitude lower than physical staging.
Related reading
Frequently asked questions
- To do virtual staging yourself: 1) Photograph the empty room in good light with a wide-angle lens. 2) Upload the photo to an AI staging tool like BetterSpace. 3) Select a design style (modern, coastal, Hamptons, etc.). 4) The AI automatically places furniture and renders the scene. 5) Review the result, request revisions if needed, and download the finished image. The process takes 5–30 minutes depending on the tool.
- Yes. Homestyler offers a free tier for self-service virtual staging. BetterSpace includes virtual staging in its paid plan ($19/month), which also covers AI listing video. For standalone free staging, quality is limited. For professional-grade results, a paid tool or outsourced service is recommended.
- Standalone AI virtual staging tools typically cost around $5 per image. BetterSpace includes virtual staging in a subscription starting at $19/month, which works out to under $1/image at normal volumes. Outsourced manual staging (BoxBrownie, Stuccco) costs $24–$65 per image.