What Photos Should You Use in a Real Estate Listing Video? A Room-by-Room Selection Checklist
Choose the right listing photos for a polished real estate video with this room-by-room selection checklist for agents.
· Sophie
Listing Videos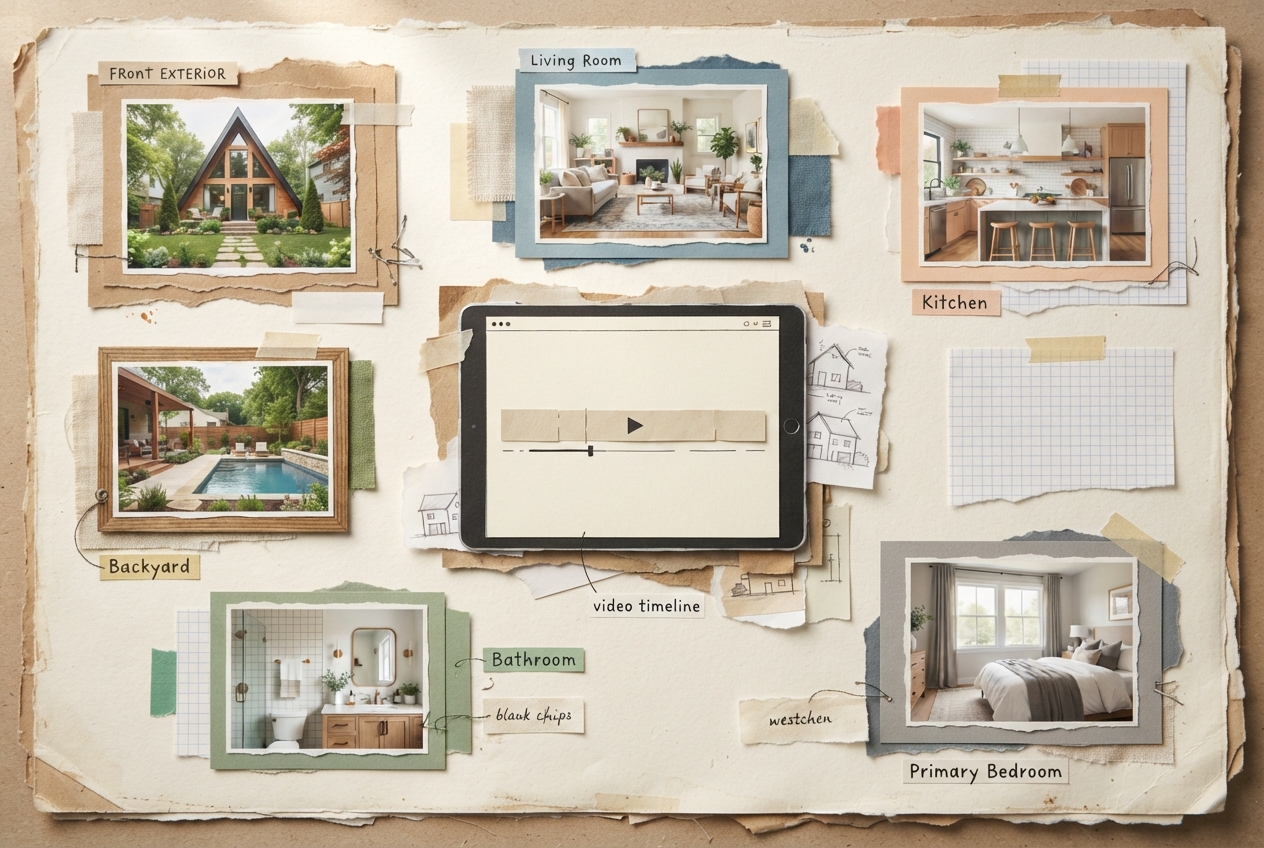
What Photos Should You Use in a Real Estate Listing Video? A Room-by-Room Selection Checklist
The best photos for a real estate listing video are not simply the prettiest images from the shoot. They are the images that establish the property, show how its main spaces connect, and give buyers a truthful sense of what they will see at a showing. A cinematic sequence cannot rescue a weak photo order, but the right 12 to 20 images can make a short listing video feel clear, intentional, and remarkably polished.
Direct answer: Use one strong exterior image, a small number of wide photos from the main living areas, the kitchen, primary suite, best bathroom, outdoor space, and two or three differentiating features. Select photos that explain the home rather than repeat the same room from slightly different angles. Skip dark images, tight detail shots without context, and rooms that do not help a buyer understand the property.
For an agent working from an existing listing photo set, this is a selection exercise, not a reshoot mandate. Your job is to find the visual spine of the listing: the arrival, the shared living spaces, the private retreat, and the feature that makes this home memorable. That order also gives an AI video tool reliable source material. BetterSpace_2 builds a video from the actual listing photos, so deliberate photo selection helps it represent the real home accurately, without inventing a room, changing the layout, or adding features that were never there.
The selection rule: choose photos that answer a buyer question
Before going room by room, apply one filter to every candidate photo: What does this image help a buyer understand that they do not already know?
A useful listing video is usually 45 to 75 seconds long. At roughly three to five seconds per image, you may only have room for 12 to 20 photos before the sequence begins to drag. That limitation is helpful. It forces you to choose images with a job to do.
The strongest real estate video photo selection answers these questions in order:
- What is the home and how does it present from the street?
- What does the main living area feel like?
- Is the kitchen a selling point, and how does it relate to dining or living?
- What does the primary bedroom and bathroom offer?
- What outdoor space, view, amenity, or architectural feature sets this property apart?
Do not confuse completeness with clarity. A viewer does not need two nearly identical kitchen angles, three shots of secondary bedrooms, and every bathroom in the home. They need a credible, attractive walkthrough of the spaces that will drive their decision to book a tour.
Best photos for a real estate listing video, room by room
1. Exterior: start with the clearest expression of the home
Choose one hero exterior for the opening, usually the front elevation in even daylight. It should show the home at a useful scale, with the driveway, entry, landscaping, or architectural character visible. A dusk photo can work beautifully if it is sharp and genuinely shows the same home, but do not use it merely because it looks dramatic. If the property is known for a lake view, mountain setting, acreage, or a distinctive rear facade, include that as a second exterior later in the sequence.
Skip an exterior that is partially blocked by cars, has hard shadows across the facade, or makes the lot look smaller than it is. The opener establishes trust. It should be accurate before it is artistic.
2. Entry and foyer: include only when it creates a real arrival moment
A foyer earns its place when it is spacious, architecturally distinctive, or opens naturally into the main living area. Think double-height ceilings, a staircase, a sightline through to the backyard, or a carefully designed entry that signals the home’s style.
If the front door opens into a narrow hallway, do not force an entry shot into the video. Move directly from the exterior to the best living-room image. Listing videos should feel like a guided tour, not a floor-plan inventory.
3. Living room or great room: choose the photo that reveals volume and connection
For most homes, the living room is the first interior photo worth using. Select the widest clean composition that shows natural light, ceiling height, focal points, and connections to adjoining spaces. A fireplace, built-in shelving, large windows, or a view can anchor the frame.
Avoid a close crop of staging accessories, even if it is stylish. Close details are supporting footage in a filmed production, but in a photo-based listing video they rarely explain the room. Also avoid using two living-room images unless each communicates something different, such as the room’s scale in one image and its relationship to the kitchen or patio in another.
4. Kitchen: prioritize layout over finishes
The kitchen is where agents most often over-select. It may be tempting to include a wide angle, a second angle, the island, the range, the backsplash, and the pantry. In most videos, use one wide kitchen photo and, if warranted, one complementary image that shows the island seating, dining connection, or upgraded appliance wall.
The best kitchen image lets a buyer judge work surfaces, cabinet condition, circulation, and scale. A tight close-up of a faucet or pendant lights can look good, but it cannot tell a buyer whether the kitchen functions well.
If the kitchen opens to the great room, choose photos that make that openness obvious. This is one area where adjacent-room sequencing matters more than any individual image. A living-room photo followed by a kitchen image from a compatible viewpoint creates a natural visual flow, even though the video is built from stills.
5. Dining area: use it when it proves usable space
Include the dining room or breakfast area if it is a distinct selling feature, has a strong architectural moment, or demonstrates that the home supports everyday meals and entertaining. A formal dining room with substantial windows, a breakfast nook overlooking a garden, or an eat-in kitchen with seating deserves a slot.
Leave out a cramped dining corner that does not add new information. If it is visible in the kitchen photo, that may be enough.
6. Primary bedroom: show calm, scale, and light
Choose the primary-bedroom photo that gives the room room to breathe. Buyers want to see window placement, bed-wall options, ceiling height, and whether the room feels private. A wide image from the doorway or corner usually works better than a bed-centered crop that hides the rest of the space.
One primary-bedroom image is often sufficient. Add a second only if it reveals a private balcony, sitting area, fireplace, or a truly separate feature that would be difficult to infer otherwise.
7. Primary bathroom: select the strongest proof of finish level
The primary bathroom can convey the home’s level of renovation quickly. Use the photo that shows the vanity, shower, tub, or layout most clearly. In a high-end listing, two bathroom photos can be justified if one establishes the full room and the other shows a feature such as a freestanding tub with a view or a large walk-in shower.
Do not use a mirror-heavy photo where the camera, photographer, or distorted reflections become distracting. And do not feature a secondary bathroom ahead of a standout primary bath unless the secondary bath is unusually special.
8. Secondary bedrooms: be selective, not apologetic
You do not need to prove that every secondary bedroom exists through a dedicated photo. Include one representative secondary bedroom when it is large, bright, flexible, or well staged as an office, nursery, or guest room. Include additional rooms only when they offer a clear point of difference, such as an ensuite, a view, or exceptional size.
This is especially relevant for smaller homes. Repeating compact bedrooms can make a video feel smaller, even when the listing itself has a sensible layout. Let the property details and photo gallery handle full room counts. Let the video emphasize the rooms buyers will remember.
9. Flexible spaces: feature the use case, not just the label
A home office, media room, gym, loft, bonus room, or finished basement should make the cut when it supports a likely buyer need. Pick the image that makes its function immediately legible. A bright office with doors, a finished lower level with a seating zone, or a bonus room that clearly fits a playroom gives the video narrative range.
Be precise in your captions or script. If a room is staged as an office but is technically a bedroom, describe it according to the listing facts. BetterSpace_2 can help turn photo sequences into listing video, but factual inputs still matter. The video should present the actual room shown, not imply a use, amenity, or legal designation that the listing does not support.
10. Outdoor spaces and views: save a strong one for the close
Outdoor images often make the best ending because they leave a buyer with a sense of lifestyle. Choose the patio, pool, deck, yard, balcony, waterfront, golf-course outlook, or sunset view that is genuinely part of the property. Wide shots work well because they communicate scale and context.
For a condo, the equivalent might be a balcony view, rooftop terrace, resident lounge, or exterior building image. Only include shared amenities that belong to the property and are available to the buyer. A vague neighborhood stock image is not a substitute for the actual setting.
A practical 15-photo sequence for most listings
For a typical three-bedroom home, this order gives you a clean starting point:
- Front exterior hero image
- Entry or first view into the living area
- Living room wide shot
- Living room connection to kitchen or backyard
- Kitchen wide shot
- Kitchen island, dining connection, or best complementary angle
- Dining area, if distinct
- Primary bedroom
- Primary bathroom
- One representative secondary bedroom or flex room
- Second flex space, only if it adds a different use case
- Backyard, deck, patio, or pool
- Rear exterior or view
- Best differentiating feature, if not already shown
- Closing exterior or outdoor image
This is a framework, not a quota. A compact city condo may need nine photos. A custom home with a legitimate wine room, home theater, workshop, detached guest suite, and panoramic grounds may support 20. The test is always the same: each image needs to move the tour forward.
What to leave out, even when the photo is technically good
A well-shot image can still be the wrong choice for a listing video. Remove duplicates, detail-only photos, dark rooms, awkward vertical crops, and any image that makes the sequence harder to understand.
Be wary of these common picks:
- Close-ups of finishes: Useful in a carousel, but weak for explaining the home in a short video.
- Multiple nearly identical angles: Choose the one with the clearest lines and strongest light.
- Utility spaces without a selling point: A standard laundry room or garage rarely belongs unless it is unusually finished, oversized, or highly functional.
- Photos that contradict the sequence: Do not place a backyard image between two kitchen images unless there is a visible connection, such as doors opening to the patio.
- Images with temporary or misleading elements: Holiday decor, construction debris, a tenant’s clutter, or an outdated photo can undermine confidence.
Why accurate photo selection improves AI video output
Photo-based AI listing video works best when the source set has a clear visual logic. BetterSpace_2 uses the actual images you provide to create a coherent presentation of the listing, rather than fabricating a generic house tour. That means it does not need to invent an extra room to fill time or alter the configuration of a kitchen to create a transition.
The practical benefit is simple: your final video stays tied to the listing. A pool is shown only if a pool photo is included. An open-plan kitchen is presented through the real kitchen and living-area images. If the home has no formal dining room, the video does not suggest one. This is why selective photo prep matters just as much as the script: clearer source material produces a more accurate visual story.
Once your sequence is set, match the export to where the video will run. Use a vertical 9:16 version for Reels, Stories, and TikTok; use 4:5 or 1:1 where the feed favors those formats; and keep a 16:9 version for YouTube, property websites, and presentations. The photos do not change, but the crop can. Before exporting, check that the opening exterior, kitchen, primary suite, and closing outdoor shot still read clearly in the chosen aspect ratio.
The shortcut is not using every image you have. It is choosing a sequence that makes a buyer feel oriented within the first ten seconds, impressed by the middle, and curious enough to see the home in person.