How to Make a Real Estate Video with AI (2026): Step-by-Step Guide
How to make a real estate video with AI in 2026: a step-by-step guide using BetterSpace. Covers photo prep, AI generation, voiceover, exports, and publishing across every platform.
· Sophie
Listing Videos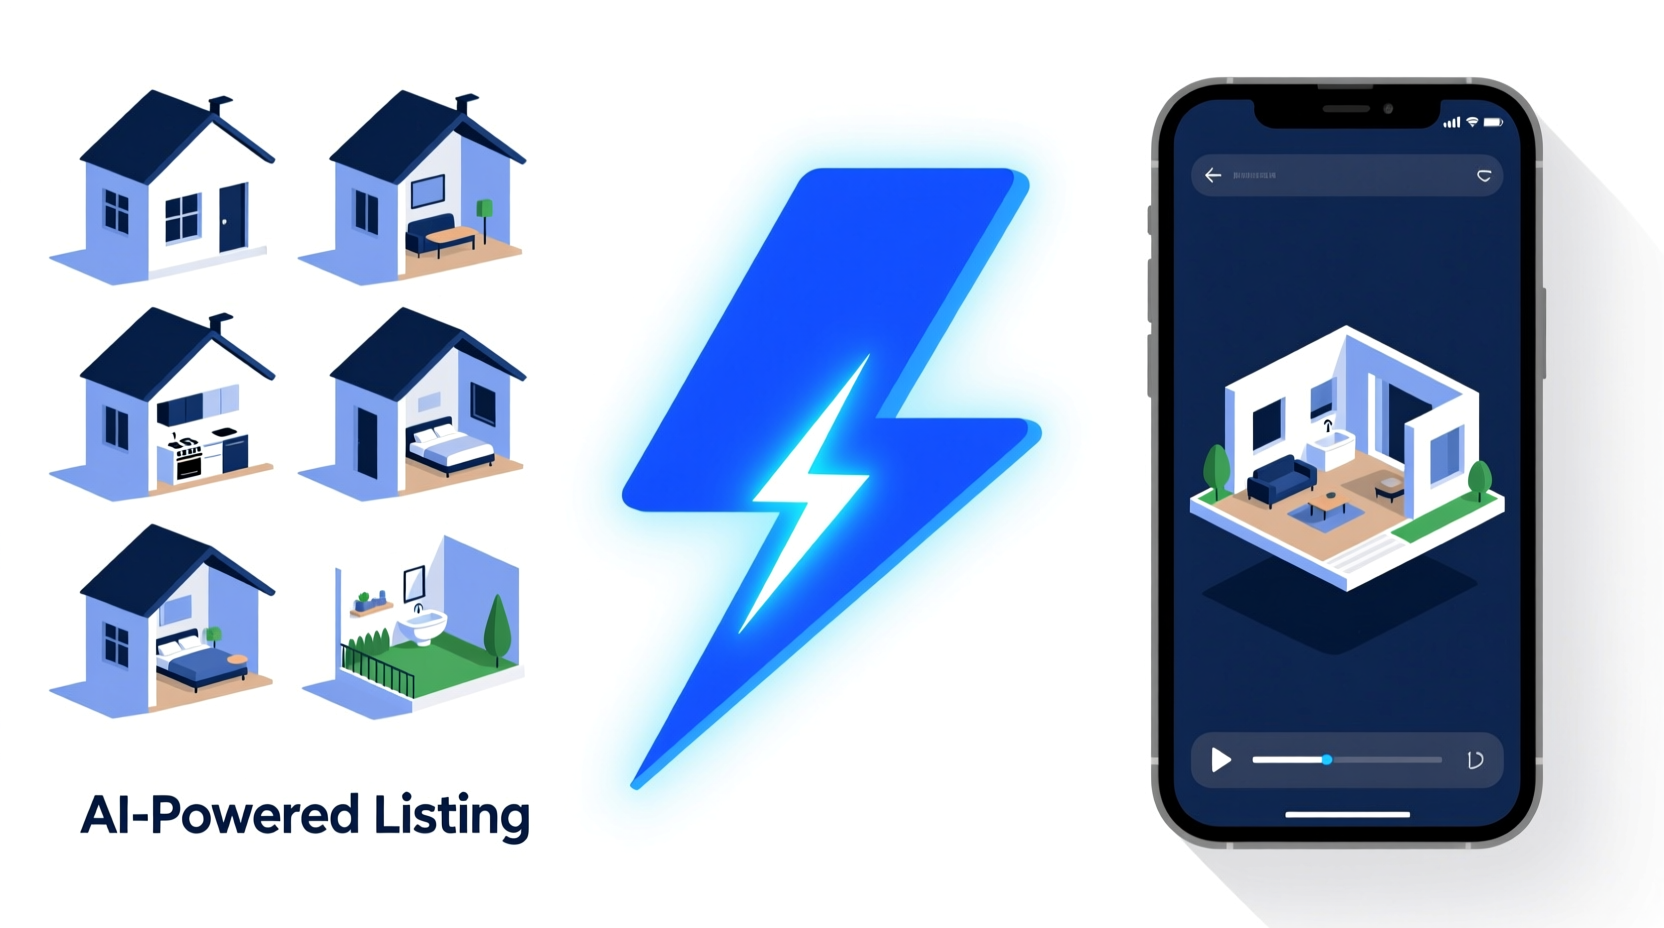
Making a professional real estate video used to mean hiring a videographer, waiting for filming, reviewing edits, and managing delivery. The total process often took a week and cost several hundred dollars per listing.
AI has changed this. In 2026, you can go from listing photos to a published multi-platform property video in under 15 minutes, with no filming, no video editing skills, and no expensive equipment.
This guide covers the complete process: photo preparation, AI video generation, export, and publishing across every major platform.
What you need before you start
Before you open BetterSpace, gather:
Listing photos: At least 15 images for a standard listing video. 20–25 is ideal. Include:
- 2–3 exterior shots (front, back if strong, aerial if available)
- Main living areas (living room, dining, kitchen)
- All bedrooms
- All bathrooms
- At least 2–3 detail shots (kitchen hardware, fireplace, views, flooring)
- One neighborhood or street shot if available
Photo quality checklist:
- Even exposure across the set (no blown-out windows, no dark rooms)
- Straight verticals (no leaning walls)
- Rooms tidy and decluttered
- Mix of wide angles and medium shots
Not required: Video footage, a specific camera, drone shots, or any special equipment. Phone photos taken in good light work well.
Step 1: Upload your listing photos to BetterSpace
Go to app.betterspace.ai and create a new project. Drag in your listing photo set or select files from your device.
Tips:
- Upload all photos first, then remove any that you do not want in the final cut
- Sequence does not matter at upload — the AI will determine the best order
- Include more photos than you think you need; you can always trim later
Step 2: Select a visual style and music
BetterSpace offers multiple visual styles that affect pacing, transition type, and motion intensity. Choose based on the property’s positioning:
- Modern/cinematic: Clean transitions, slower pacing. Works for contemporary homes and luxury listings.
- Energetic/social: Faster pacing, more dynamic motion. Works well for condos, rentals, and social-first content.
- Classic/warm: Softer transitions, warmer color treatment. Works for traditional homes and family properties.
For music, select a track that matches the property’s feel and price point. Upbeat and light for entry and mid-market. More refined and slower for luxury.
Step 3: Review the AI-generated cut

Once the AI generates your video, preview the full cut before exporting. Check for:
- Room sequence: Does the video flow logically from exterior to main living areas to bedrooms to details?
- Pacing: Does the cut feel too fast or too slow for the property type?
- Key features: Are the strongest rooms and details well-represented?
If anything needs adjustment, most AI video tools let you re-order scenes or request a revised cut with different settings.
Step 4: Add or adjust voiceover
BetterSpace automatically generates AI voiceover that narrates key property features. You can:
- Use the AI voiceover as generated (fastest path to a complete video)
- Edit the voiceover script and regenerate
- Select a different AI voice style to better match your brand
For most standard listings, the AI voiceover is sufficient out of the box. For luxury properties where narration style is part of the marketing position, spend time refining the script.
Step 5: Export in all formats
Before exporting, confirm you have everything set correctly:
- Video title and property details added if using text overlays
- Captions generated and reviewed (BetterSpace auto-generates captions synced to voiceover)
- Style and music finalized
Then export both formats in one step:
- 16:9 landscape — for YouTube, MLS portals, email campaigns, and listing page embeds
- 9:16 vertical — for Instagram Reels, TikTok, YouTube Shorts, and Facebook Stories
Having both formats ready before you start distributing saves a second trip back to the tool.
Step 6: Publish across platforms
On launch day (or 24 hours before):
- Instagram Reels: Upload the 9:16 version with a caption that includes the address, key stats (beds, baths, price), and a call-to-action (link in bio to the listing)
- TikTok: Same 9:16 version; TikTok rewards early-day posts. Add the address and relevant hashtags (#realestate, #[city]realestate, [address])
- Facebook: Post the 9:16 version in a Story and the 16:9 version as a Feed video. The Feed video tends to reach your existing follower base; the Story creates urgency
After launch:
- YouTube: Upload the 16:9 version with a descriptive title (e.g., “123 Main Street, Anytown | 4 Bed 3 Bath | Listing Video”). YouTube video often ranks in Google search for address-specific queries
- Email: Embed a video thumbnail linked to the YouTube video in your listing launch email. Video thumbnails in email increase click-through rates significantly
- MLS portal: Attach or link the 16:9 video where your MLS allows. Check your local MLS rules for video attachment requirements
What makes a listing video perform well
Based on what works across thousands of BetterSpace-generated videos:
Strong opening frame: The first 2–3 seconds determine whether a viewer keeps watching. Lead with the best exterior shot or the strongest feature room, not a utility room or hallway.
Variety of shot types: Mix wide angles (establishing the room) with medium shots (showing detail) and close-ups (finishes, fixtures). AI tools do this automatically if your photo set has variety.
Appropriate length for platform: Shorter than you think for social (15–30 seconds for Reels). Longer is fine for YouTube (2–3 minutes) and listing pages.
Complete contact info: Your name, brokerage, and a contact method should appear in the last 3–5 seconds of the video. Most AI tools add this automatically if you set it up in your profile.
Common mistakes to avoid
Using too few photos: Under 10 photos produces a video that feels rushed and repetitive. Aim for 20+.
Inconsistent exposure: Photos with very different brightness levels create jarring cuts. If some photos are too dark or have blown-out windows, the AI cannot fix this — reshoot or skip those photos.
Including unflattering shots: Just because a photo is in your set does not mean it should be in the video. Remove any shots that are cluttered, poorly lit, or do not show the property well.
Forgetting captions: Most buyers watch videos on social media with sound off. Captions are essential for following a voiced listing tour. BetterSpace generates them automatically — make sure they are turned on.
Not exporting both formats: Vertical video for social and horizontal video for everything else. Exporting only one format wastes distribution potential.
Related reading
Frequently asked questions
- To make a real estate video with AI: 1) Gather your listing photos (aim for 15–25 images). 2) Upload them to an AI video tool like BetterSpace. 3) Select a visual style and music that matches the property's feel. 4) Review the AI-generated cut and adjust if needed. 5) Export in 16:9 for MLS and email, 9:16 for social media. Total time: 10–15 minutes.
- No. AI real estate video tools like BetterSpace create professional listing videos entirely from still photos. You do not need video footage, a camera crew, or filming of any kind. The AI applies motion to your listing photos to create a walkthrough-style video.
- With BetterSpace, the AI generates a listing video in under 5 minutes after you upload your photos. Including photo preparation and review time, most agents complete the full process in 10–15 minutes per listing.